
Shooting in Manual Mode (Without Feeling Overwhelmed)
Stepping into manual mode can feel intimidating at first — all those dials, numbers, and unfamiliar terms. But once you understand the basics, it gives you full creative control over your images. This post breaks it down simply, so beginners can start shooting in Manual without stress.
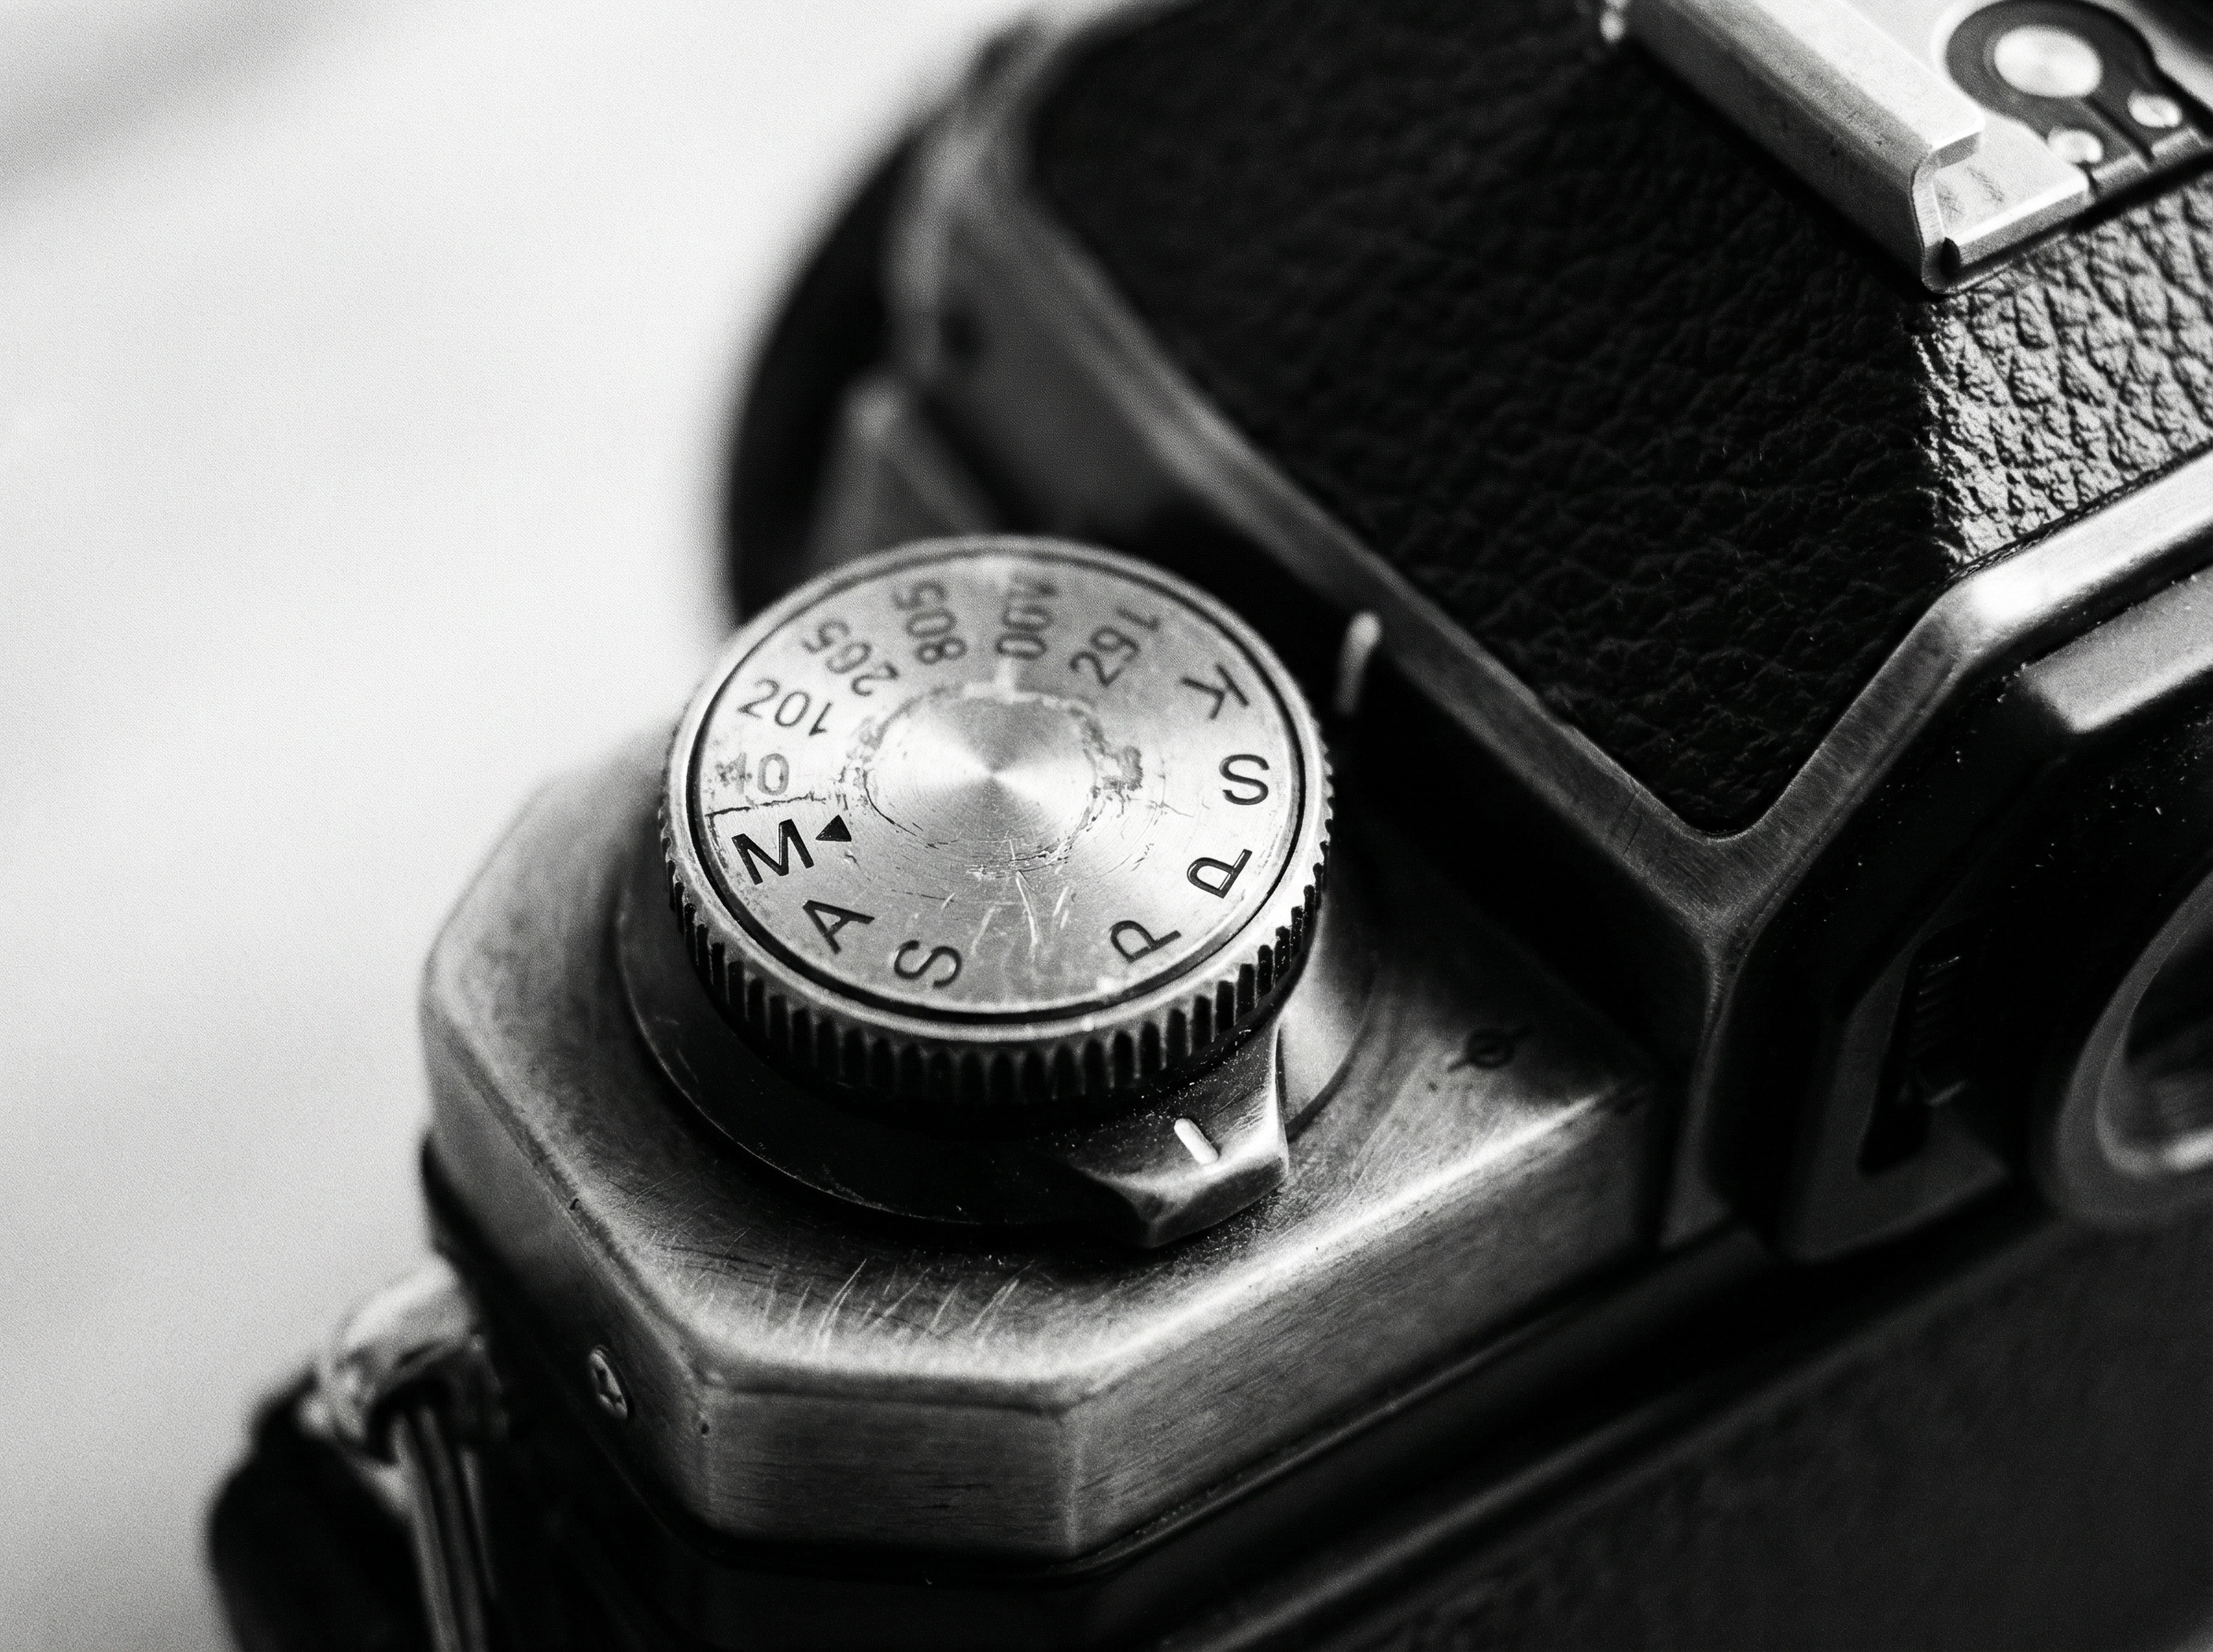
1. Why Use Manual Mode?
Manual mode lets you control:
Aperture – how much light enters and how blurred your background is
Shutter Speed – how motion is captured
ISO – how sensitive your sensor is to light
Auto and semi-auto modes (Aperture Priority, Shutter Priority) are helpful, but manual allows you to make every exposure decision intentionally.
2. Start With a Simple Formula
Begin by balancing your exposure using this approach:
Set ISO first:
Daylight → ISO 100–200
Indoors/low light → ISO 400–800 (increase only if needed)
Choose your aperture:
Portrait → low f-number (f/1.8–f/4) for background blur
Landscape → higher f-number (f/8–f/16) for sharpness throughout
Adjust shutter speed to achieve correct exposure:
Fast shutter → freeze movement
Slow shutter → capture motion blur or low light
Check your camera’s exposure meter in the viewfinder or on-screen to see if the image is correctly exposed.
3. Take It Step by Step
Don’t try to change all three settings at once.
Start by locking two settings and adjusting the third. Example:
Fix ISO at 100
Set aperture to f/5.6
Adjust shutter speed until exposure looks balanced
Once you’re comfortable, experiment with changing two settings while observing the effect.
4. Focus on One Creative Choice at a Time
Manual mode is about control, not perfection. Begin with one goal:
Freeze action → prioritize shutter speed
Soft background → prioritize aperture
Low light → prioritize ISO
Everything else adjusts around that choice.
5. Use Your Camera’s Feedback
Histogram – shows if highlights or shadows are clipping
Preview image – check brightness, blur, and motion
This allows you to correct mistakes immediately without relying on Auto.
6. Practical Tips for Beginners
Start in good light → mistakes are less noticeable
Use a tripod for slow shutter speeds
Keep notes of settings for images you like → helps you learn faster
Practice consistently — short sessions are more effective than long, frustrating ones
Final Thought
Manual mode doesn’t have to be overwhelming. Start slow, focus on one setting at a time, and remember that every mistake is a learning opportunity. Once you understand how aperture, shutter speed, and ISO interact, you’ll gain confidence to shoot creatively and intentionally.