
Understanding Your Camera: A Beginner’s Guide
Understanding Your Camera: A Beginner’s Guide
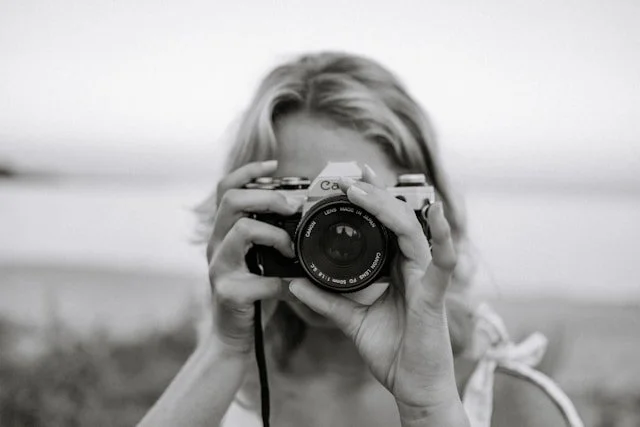
Before adjusting settings or thinking about composition, the first step in photography is understanding the camera itself. Once you know what each part does and how they work together, everything else becomes far more straightforward.
Whether you’re using a DSLR, mirrorless camera, or compact system camera, the fundamentals remain the same.
1. How a Camera Actually Works
At its most basic, a camera does one thing: it records light.
When you press the shutter button:
Light enters through the lens.
The shutter opens.
The sensor captures that light.
The image processor converts it into a digital image.
Photography is simply controlling how much light reaches the sensor — and how it is recorded.
2. The Camera Body
The camera body houses:
The image sensor
The shutter mechanism
The image processor
Control dials and settings
Think of the body as the control centre. It determines how the image is captured and processed.
3. The Sensor
The sensor is the digital equivalent of film. It captures incoming light and turns it into data.
Sensor Sizes (Beginner Overview)
Full-frame – Larger sensor, better low-light performance, wider field of view.
APS-C – Slightly smaller, common in beginner and enthusiast cameras.
Micro Four Thirds – Smaller again, often used in compact mirrorless systems.
Larger sensors generally perform better in low light and produce more background blur, but APS-C cameras are more than capable for beginners.
4. The Lens
The lens determines:
What you see in the frame
How close or far your subject appears
Depth of field (background blur)
Two Main Types
Prime Lens
Fixed focal length (e.g., 35mm or 50mm)
Usually sharper
Encourages better composition
Zoom Lens
Adjustable focal length (e.g., 18–55mm)
More flexible
Common kit lens for beginners
Your lens often affects image quality more than the camera body.
5. The Exposure Controls
Every camera controls exposure using three settings:
Aperture – Controls how much light enters and how blurred the background appears.
Shutter Speed – Controls how long light hits the sensor and whether motion is frozen or blurred.
ISO – Controls how sensitive the sensor is to light.
Together, these form the foundation of photography. Mastering them gives you full creative control.
6. Shooting Modes Explained
Most cameras include these modes:
Auto – Camera chooses all settings.
Aperture Priority (A or Av) – You choose aperture; camera sets shutter speed.
Shutter Priority (S or Tv) – You choose shutter speed; camera sets aperture.
Manual (M) – You control everything.
For beginners, Aperture Priority is often the best starting point. It allows control over depth of field without becoming overwhelming.
7. Autofocus vs Manual Focus
Modern cameras use autofocus systems that detect contrast or phase differences to focus accurately.
Key things to learn:
How to move your focus point
When to use single-point focus
When to use continuous focus (for movement)
Manual focus is useful in low light or precise situations, but autofocus is reliable for most beginners.
8. File Types: JPEG vs RAW
JPEG
Processed in-camera
Smaller file size
Ready to share
RAW
Contains more image data
Greater editing flexibility
Larger file size
If you plan to edit your images, shooting in RAW is recommended.
9. Practical First Steps
Before diving into advanced techniques:
Read your camera manual (even briefly).
Learn how to change aperture, shutter speed, and ISO.
Practice adjusting settings in daylight.
Review your images and check exposure.
Spend time becoming comfortable with the controls. Familiarity builds confidence.
Final Note
Understanding your camera is not about memorising technical details — it’s about knowing how light moves through the lens, how it reaches the sensor, and how your settings influence the result.
Once you grasp that, photography becomes less about guessing and more about intention.
From here, the natural next step is learning the exposure triangle in depth — and how to use it confidently in real situations.