
A Guide to Making Art Feel at Home
Getting Art in Home Hanging art can completely change how a room feels, bringing balance, warmth, and personality to a space. While it can feel intimidating, displaying art well is less about rigid rules and more about proportion, flow, and confidence. Breaking it down into simple principles makes the process far more approachable.
Placement and height
Avoid hanging artwork too high; this is one of the most common mistakes.
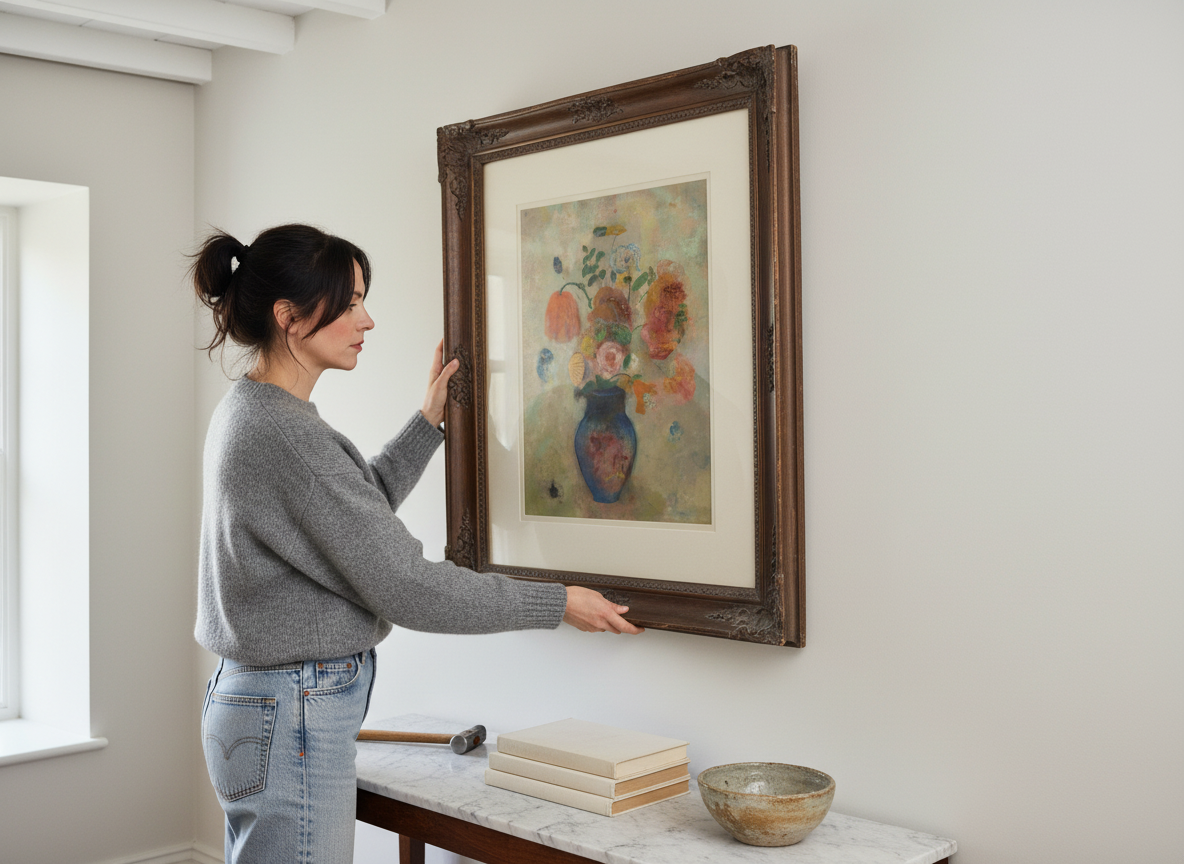
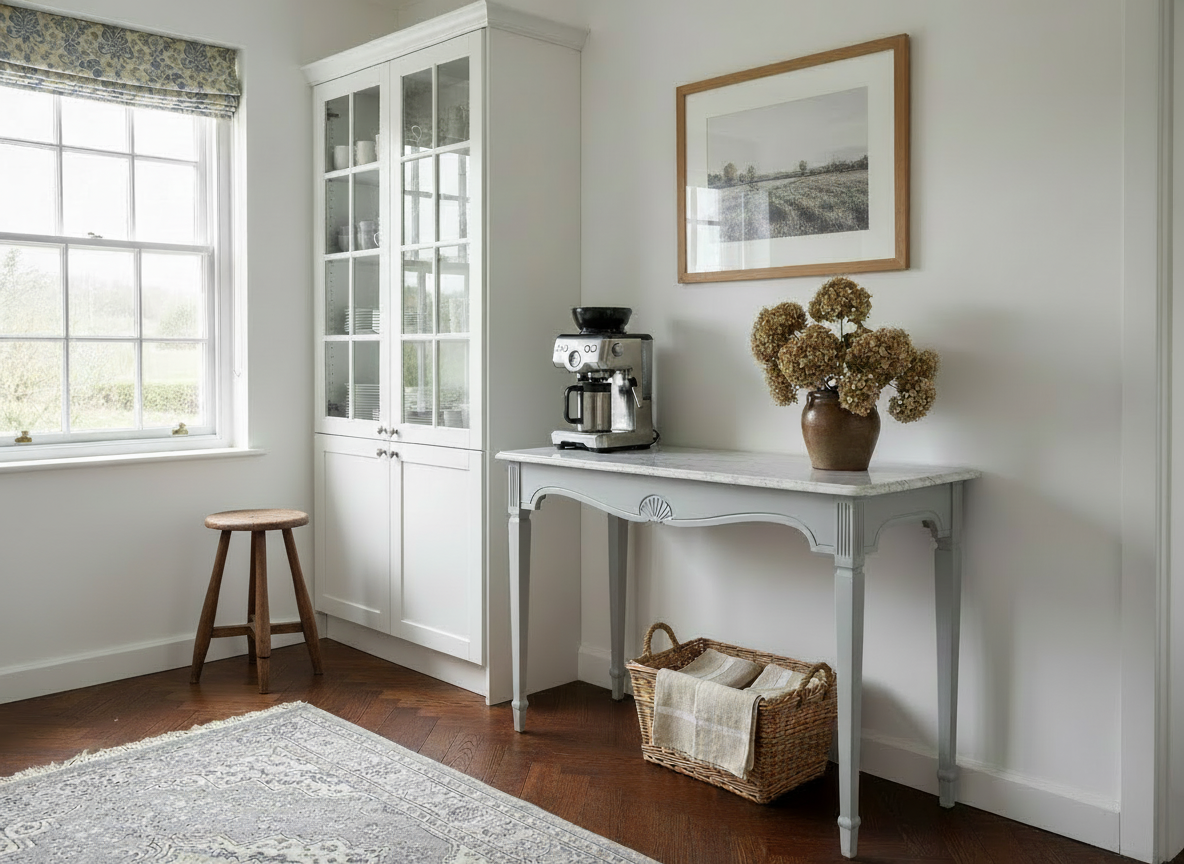
Aim for the centre of the artwork to sit at eye level, roughly 145–155 cm from the floor.
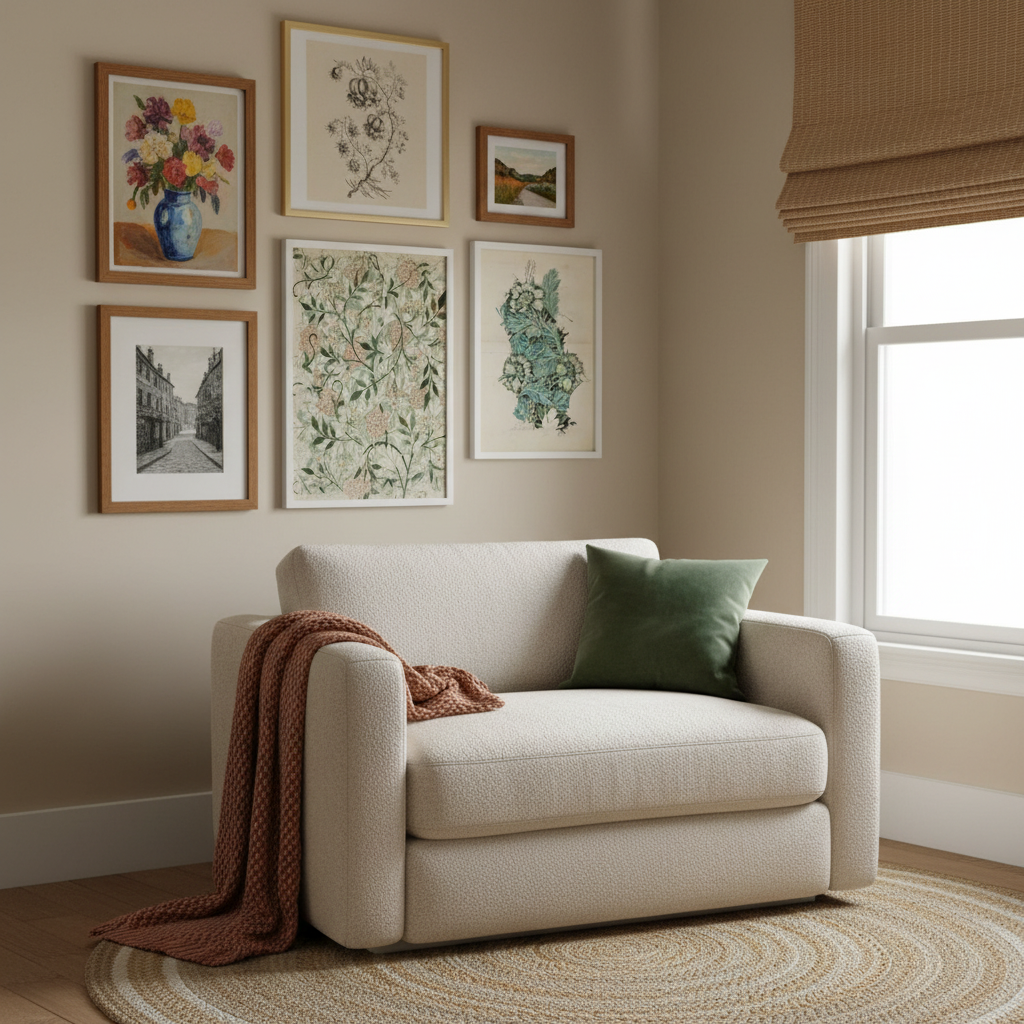
When hanging art above furniture, leave a gap of around 15–25 cm so the piece feels visually connected to what’s below.
Artwork should feel anchored to the room, not floating independently on the wall.
Scale and proportion
Artwork should relate to the size of the wall and the furniture beneath it.
Small pieces can feel lost on large walls unless grouped thoughtfully.
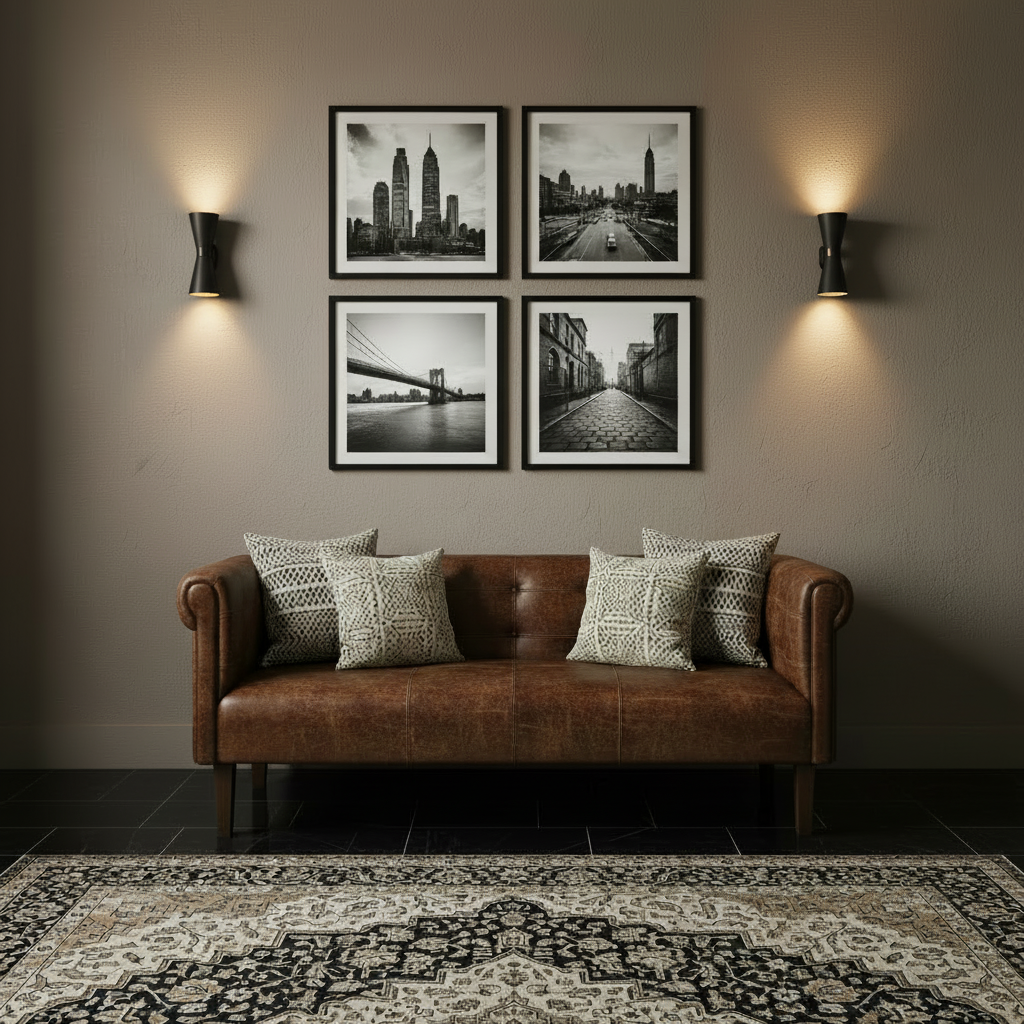
Above sofas, beds, or sideboards, aim for artwork (or a grouping) that spans roughly two-thirds the width of the furniture.
Large-scale art can be incredibly effective when given space to breathe.
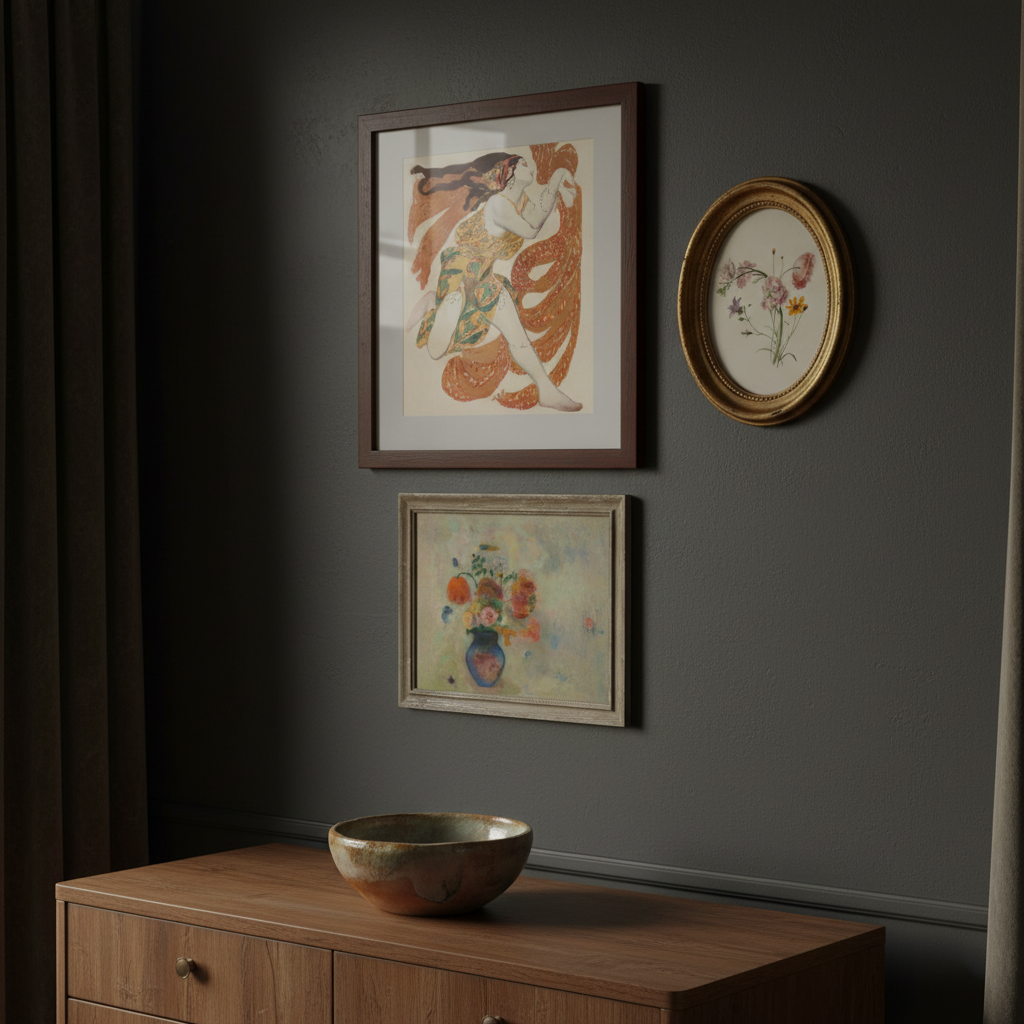
Framing choices
Frames shape how artwork is perceived and how it sits within a room.
Black frames add definition and structure; timber frames bring warmth and softness.
Neutral mounts create breathing space and help art feel calm and considered.
When mixing frames, keep one unifying element — colour, material, or depth — to maintain cohesion.
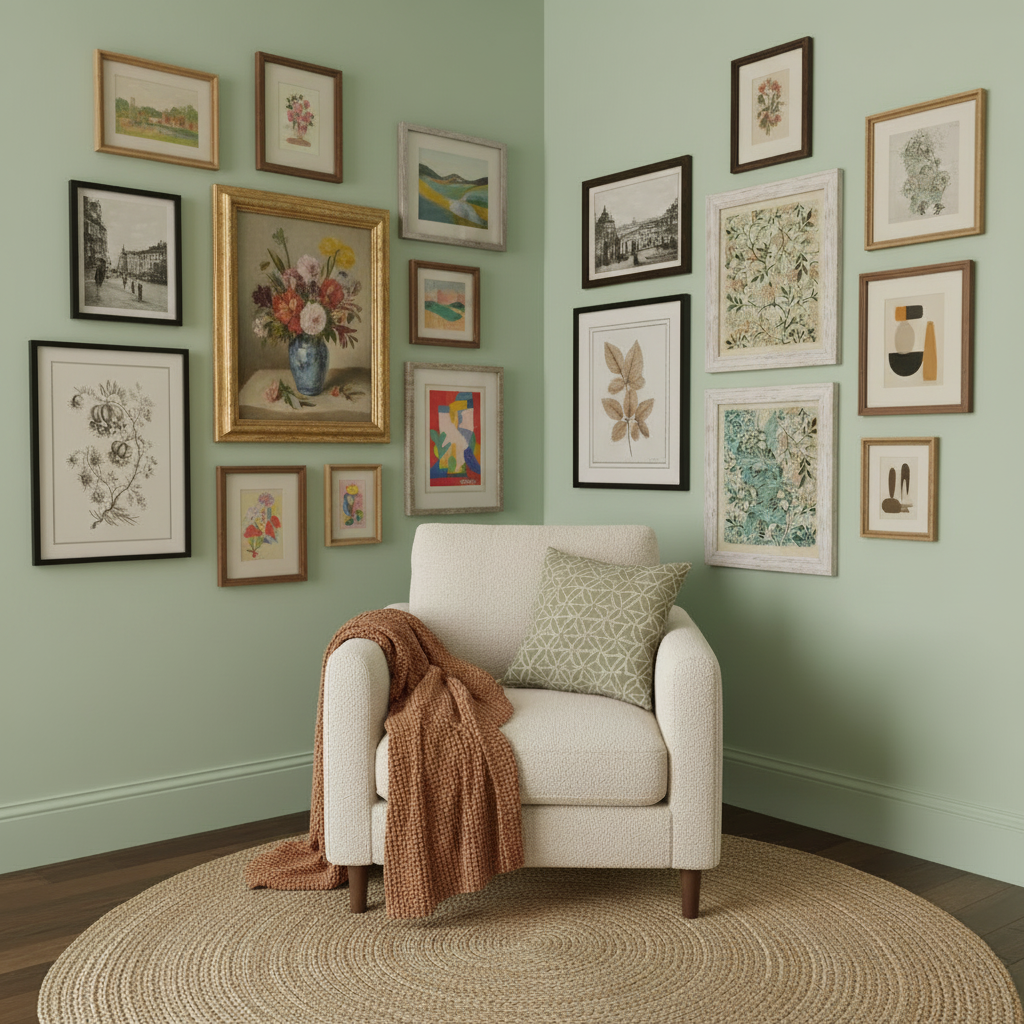
Arranging multiple pieces
Plan gallery walls before hanging by laying pieces on the floor or using paper templates on the wall.
Keep spacing between frames consistent to create rhythm and balance.
Mix sizes and orientations for movement, but think of the arrangement as one larger composition.
Gallery walls work best when they feel intentional rather than overly symmetrical.
Letting the room lead
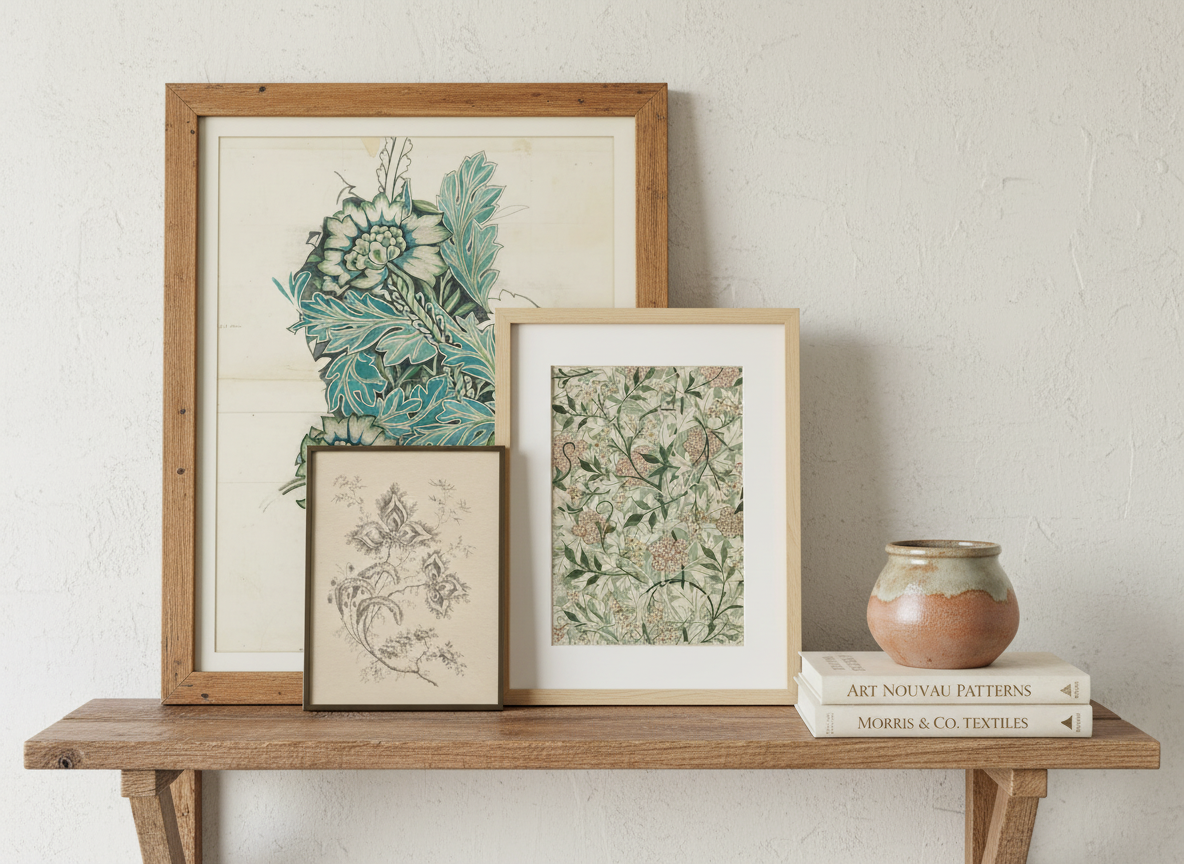
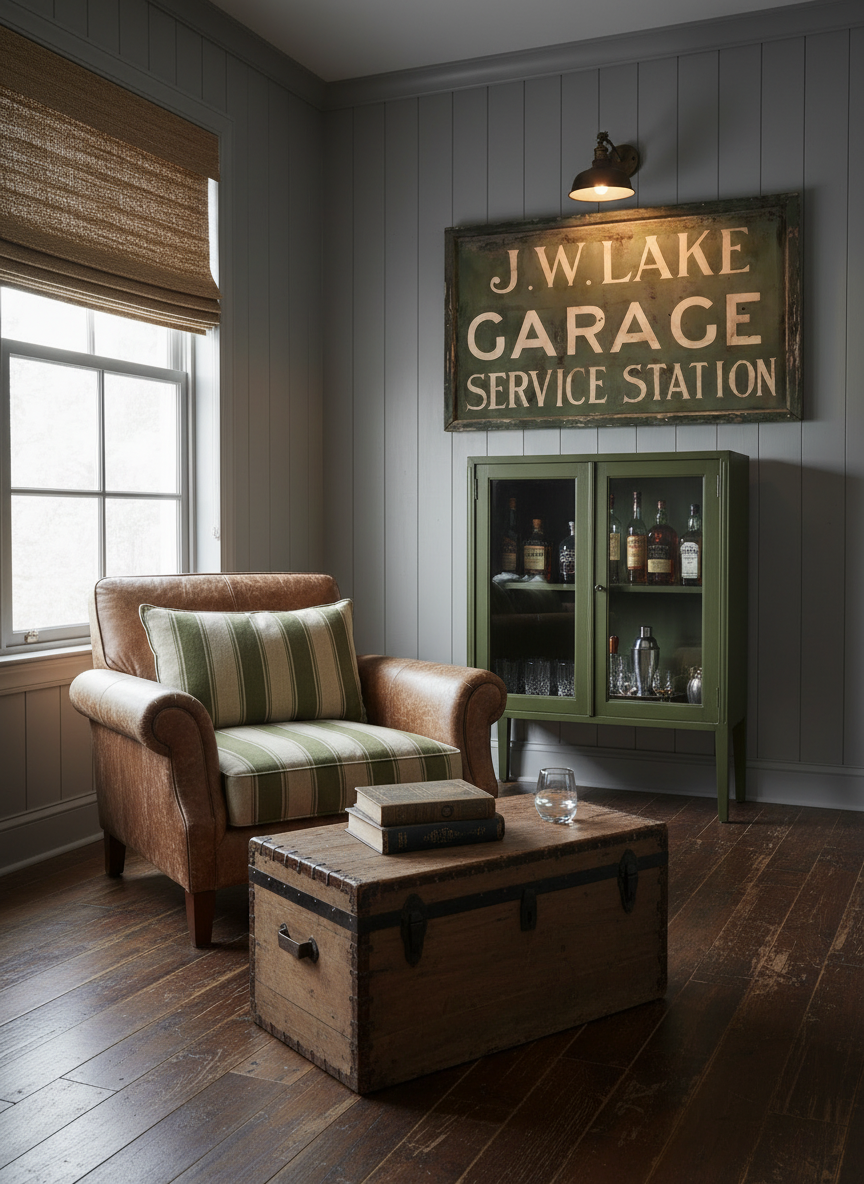
Art doesn’t have to be confined to traditional wall placements.
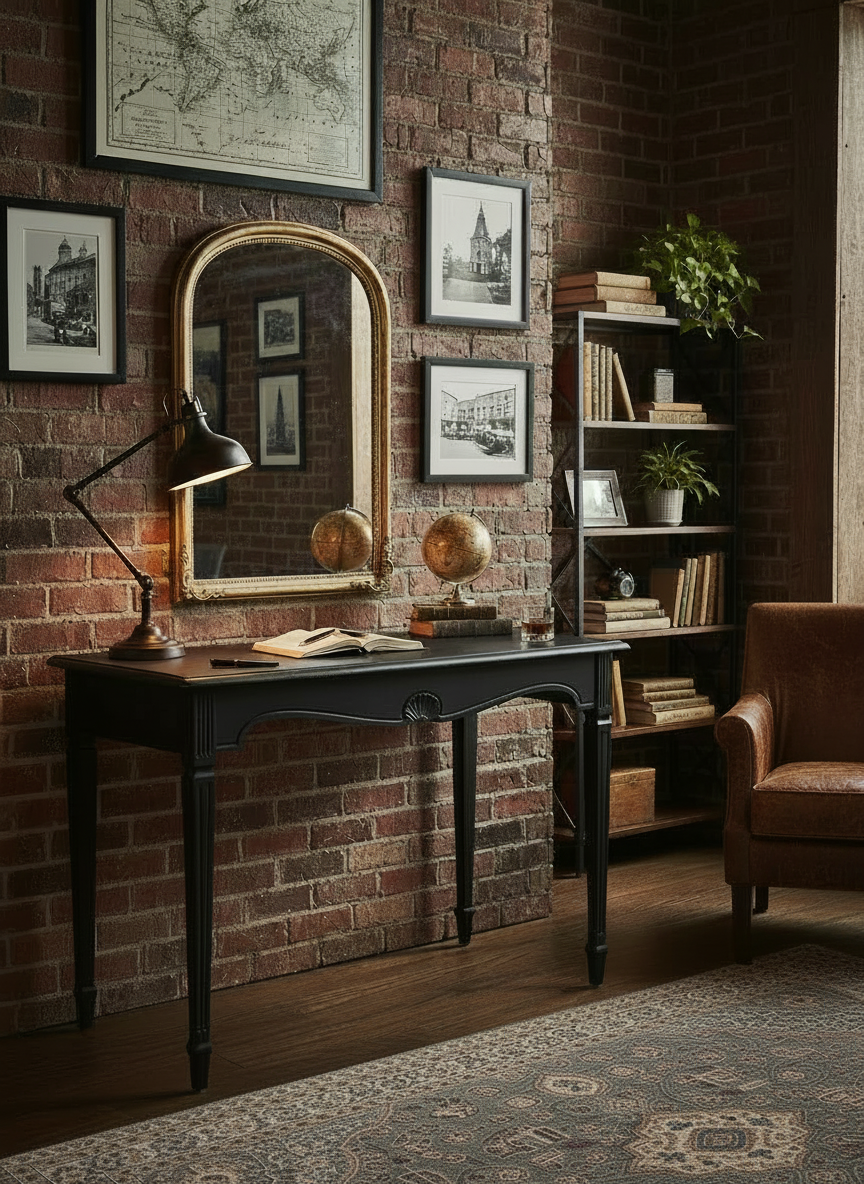
Lean framed pieces on shelves, layer them with books and objects, or place them in quieter corners.
Use natural focal points — fireplaces, seating areas, or architectural features — to guide placement.
Relaxed arrangements often feel more lived-in and personal.
Choosing art you love
Personal connection matters more than trends or rules.
Choose pieces that evoke feeling, memory, or curiosity.
Allow yourself to live with art, move it, and adjust over time.
A home evolves, and art should evolve with it.

Hanging art well is about harmony rather than perfection. With thoughtful placement, considered framing, and a relaxed approach to arrangement, artwork becomes part of everyday life — adding depth, warmth, and story to your home.
A Guide to Fixings and Methods
Hanging pictures properly isn’t just about getting them level — the right fixing keeps artwork secure, protects your walls, and prevents accidents. The correct method depends on the picture weight, wall type, and hanging system.
Common Picture Hanging Fixings
Picture Hooks (Steel or Brass)
Best for lightweight to medium frames
Usually nailed directly into plaster or drywall
Quick and easy, but limited weight capacity
Screws and Wall Plugs
Ideal for heavier pictures and mirrors
Wall plugs expand inside the wall for extra grip
Must match the wall type (plasterboard, brick, concrete)
Drywall Anchors
Designed specifically for plasterboard walls
Types include self-drilling anchors, toggle bolts, and cavity fixings
Essential when there’s no wall stud behind the plaster
Adhesive Hooks and Strips
Suitable only for very lightweight frames
No drilling required
Not recommended for valuable or heavy artwork
Picture Rail Systems
Use ceiling-mounted rails with adjustable hooks and cords
Popular in period homes and galleries
Allow pictures to be rearranged without wall damage
Choosing the Right Fixing by Weight
Up to 2 kg (4.5 lbs): Picture hooks or adhesive strips
2–5 kg (4.5–11 lbs): Screws with wall plugs or drywall anchors
Over 5 kg (11 lbs): Heavy-duty anchors, multiple fixings, or wall studs
Tip: When in doubt, always choose a fixing rated above the picture’s weight.
Matching Fixings to Wall Types
Plasterboard / Drywall
Use drywall anchors or fix into a stud
Avoid standard screws without anchors
Brick or Concrete
Drill pilot holes with a masonry bit
Use plastic or metal wall plugs
Solid Plaster (Older Homes)
Picture hooks or wall plugs work well
Drill carefully to avoid cracking
Hanging Techniques
Single Fixing: Suitable for small, lightweight frames
Two Fixings: Prevents large frames from tilting
Wire Hanging: Distributes weight evenly across fixings
D-Rings: Strong and stable for heavier frames
Best Practices
Measure and mark before drilling
Use a spirit level for straight alignment
Check weight limits on all fixings
For valuable artwork, test the fixing before hanging
Conclusion
Using the correct picture hanging fixings ensures safety, stability, and a professional finish. By matching the fixing to the wall type and picture weight, you’ll avoid damage and keep artwork securely displayed for years to come.